
Bosses
Blox Fruits boss locations, drops and respawn behaviour for every sea, plus event bosses like Great Pumpkin and the free swords and accessories they drop.
Introduction
Bosses are the free gear engine of Blox Fruits. The developer group FAQ confirms that bosses can drop accessories and swords, which is why farming a boss route often replaces shopping entirely. The first sea alone spreads nine named bosses across its islands: Gorilla King in the Jungle, Chef in Pirate Village, Yeti in Frozen Village, Fishman Lord in Underwater City, Cyborg in Fountain City, Magma General in Magma Village, Vice Admiral at Marine Fortress, Warden in the Prison and Sky Warlord in Upper Skylands. Seasonal events add limited encounters on top, such as the Halloween Great Pumpkin summon and a Hellfire raid boss. What the official material does not publish is drop probability, so any exact drop rate you read online is a community estimate rather than a confirmed number.
Boss Drops and Location Reference
| Boss | Island | Typical Reward | Farming Note |
|---|---|---|---|
| Gorilla King | Jungle | Early sword and accessory drops | First realistic boss target; low risk at the start of the first sea |
| Chef | Pirate Village | Gear drops and Beli | Convenient stop while running the Pirate Village quest chain |
| Yeti | Frozen Village | Accessory drops | Cold-zone boss; pair with the Frozen Village quests |
| Fishman Lord | Underwater City | Gear drops and Beli | Deep-water island; bring a boat and clear the route first |
| Magma General | Magma Village | Sword and accessory drops | Later first sea target; enemies nearby are the real threat |
| Warden | Prison | Prison-themed gear drops | Higher first sea band; check your level before committing |
| Sky Warlord | Upper Skylands | Late first sea drops | Top of the first sea ladder; a natural checkpoint before the second sea |
Boss Route Cards
Gorilla King
Jungle — the first boss worth farming
Magma General
Magma Village — later first sea target
Warden
Prison — high first sea band
Great Pumpkin
Halloween event summon — limited window
Chef
Pirate Village — the convenient early route
Fishman Lord
Underwater City — deep-water target
Sky Warlord
Upper Skylands — top of the first sea
Core Mechanics
Boss farming is a loop of respawn, route and luck. Each boss sits on a fixed island, so a route is really a sailing plan: hit several islands in one trip and check each spawn before moving on. Because the developers do not publish respawn timers, community reports fill the gap, and treating those numbers as approximate is the only honest approach. Drops are the real reward. A boss can hand over a sword or an accessory you would otherwise buy, and accessories are rare stat boosts that make a boss route more valuable than the Beli it pays. Event bosses break the pattern by appearing only during seasonal windows, which means their gear can become unavailable after the event closes.
Advantages
Bosses turn time into gear without spending Beli. For a free player, sword and accessory drops are the fastest way to close the gap with paid accounts, since the items are the same ones shops charge for. Routes also combine well with quests: the islands that host bosses are usually the islands your current band tells you to farm anyway, so one trip serves two goals. Boss fights teach mechanics that matter later, such as reading telegraphs and managing cooldowns, which pays off in raids. Finally, event bosses add limited-time goals that keep a finished account busy and produce tradeable items once the event ends.
Challenges
The biggest unknown is drop probability, which the developers do not publish. Any specific percentage is a player estimate, and long dry streaks are normal rather than evidence of a bug. Respawn timing is the second gap: reported timers vary by source and can change after patches, so a strict rotation often wastes time waiting. Competition is the third issue, because popular bosses are camped on busy servers, and open-world PvP means farming near other players carries risk. Event bosses add a fourth limitation: their rewards depend on the event window, so a missed event can mean waiting a year for another chance at the same item.
Frequently Asked Questions
Do bosses drop swords and accessories for free?+
What is the boss respawn time?+
Are event bosses like Great Pumpkin worth farming?+
Quick Tips
Farm bosses that sit on your level-band island instead of travelling to a famous name. The drop table matters less than the cost per attempt: an in-band boss you can kill quickly earns more attempts per hour than a higher boss you barely survive. Route efficiency beats prestige every time.
Do not trust exact drop percentages. The developers publish no drop rates, so numbers like a specific chance per kill are player estimates and often stale. Plan around attempt volume instead: pick a route you can repeat, kill quickly, and treat each drop as a bonus rather than a scheduled payout.
Bank a spare sword or accessory instead of selling the first duplicate. Trade value rises when an item becomes hard to obtain, and event rewards in particular can become unavailable after the window closes. Keeping one spare costs nothing and gives you leverage when someone offers a fruit you actually want.
Featured
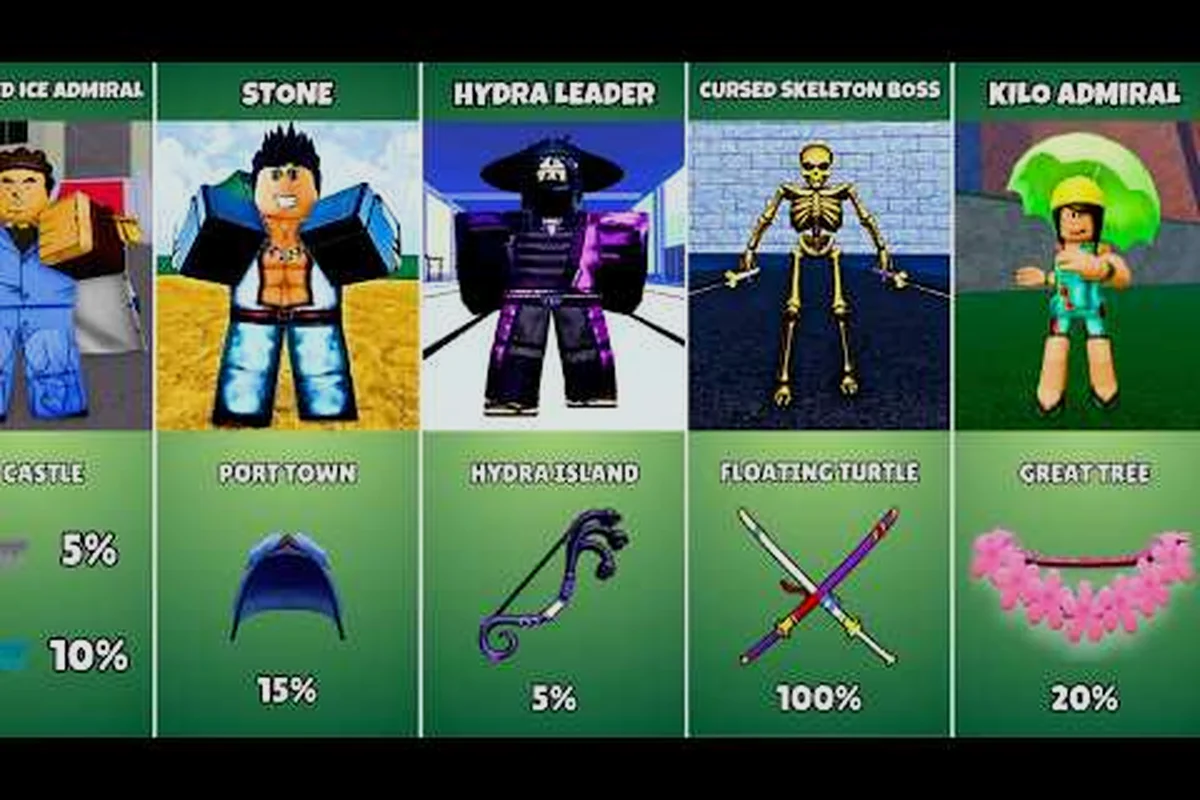
Blox Fruits Boss Drop Chance: Rates, Rewards, and Farming
Learn how Blox Fruits boss drop chance estimates work, which accessories and swords bosses can award, and how to farm rare gear efficiently.
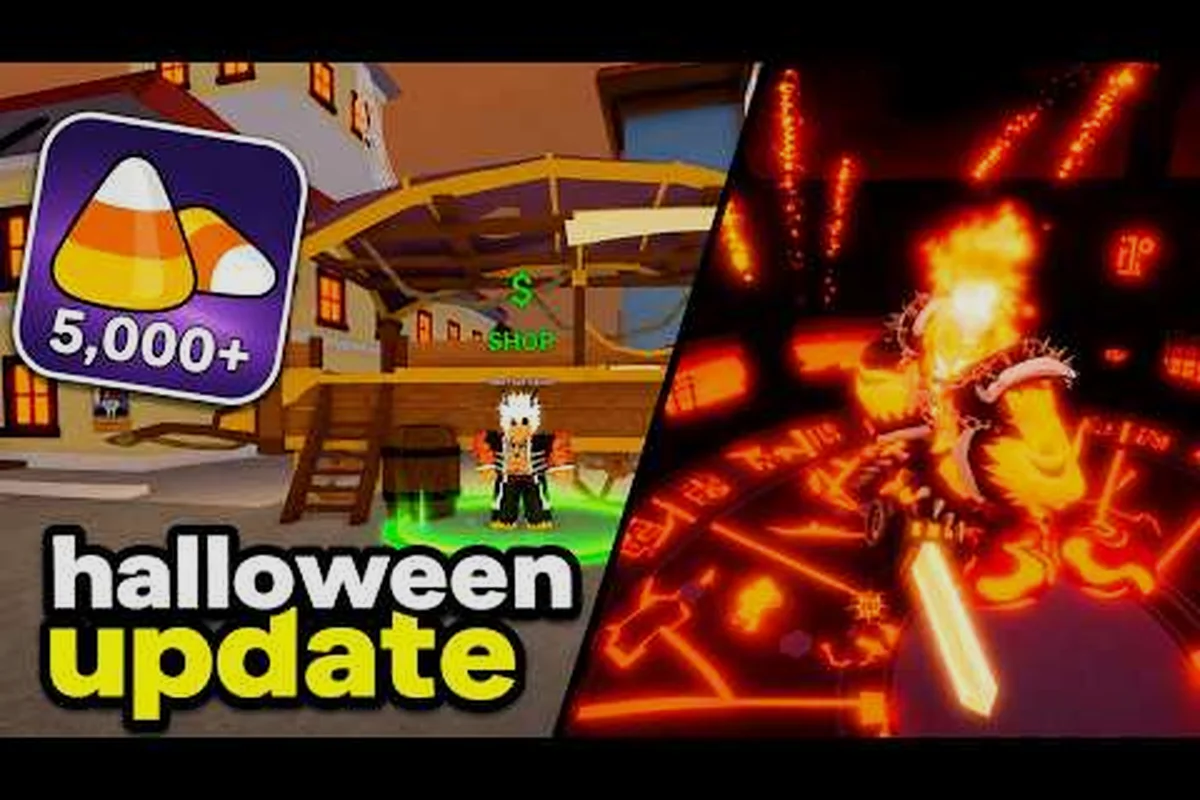
Blox Fruits Boss Guide: Where to Find Every Major Fight
Find bosses across all three seas with this Blox Fruits boss guide covering locations, expected levels, possible drops, bounty tracking, and roaming sea beasts.
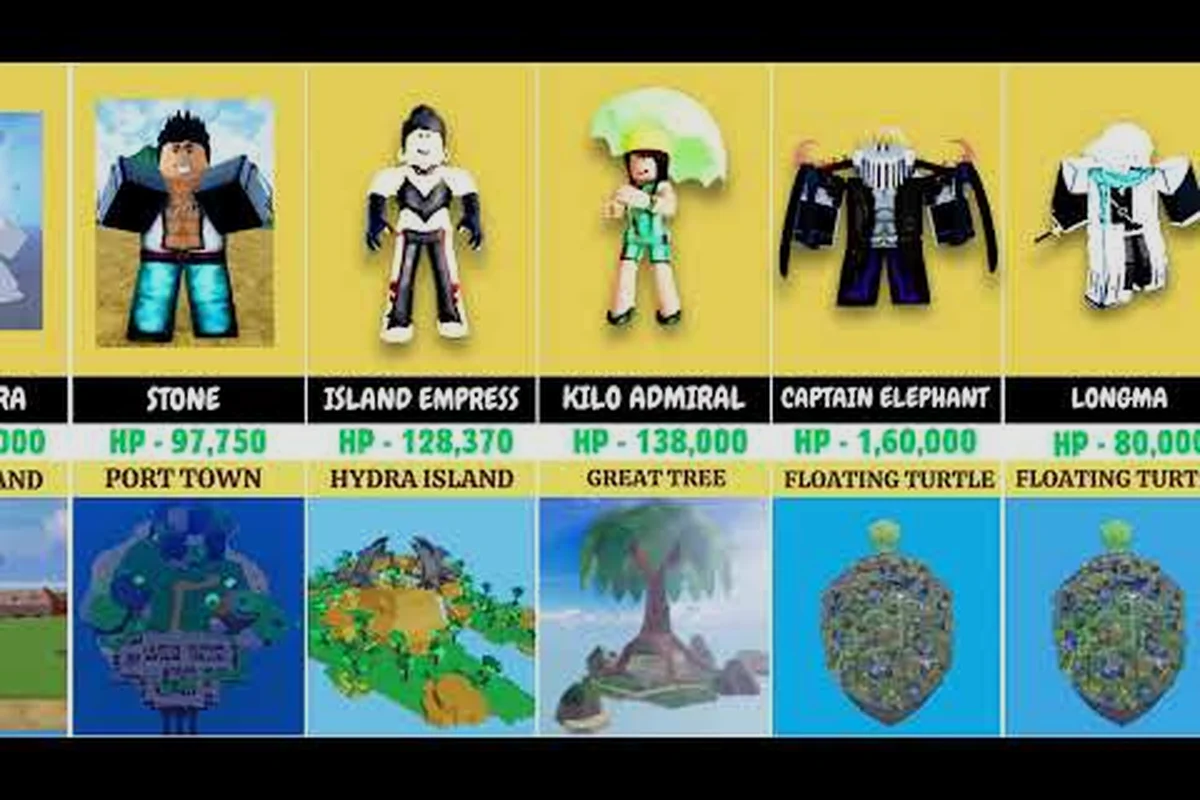
Blox Fruits Boss List: Every Island, Level, and Loot Drop
Explore the Blox Fruits boss list with island locations, level bands, respawn behavior, and possible accessory and sword drops for each world boss.
All Articles
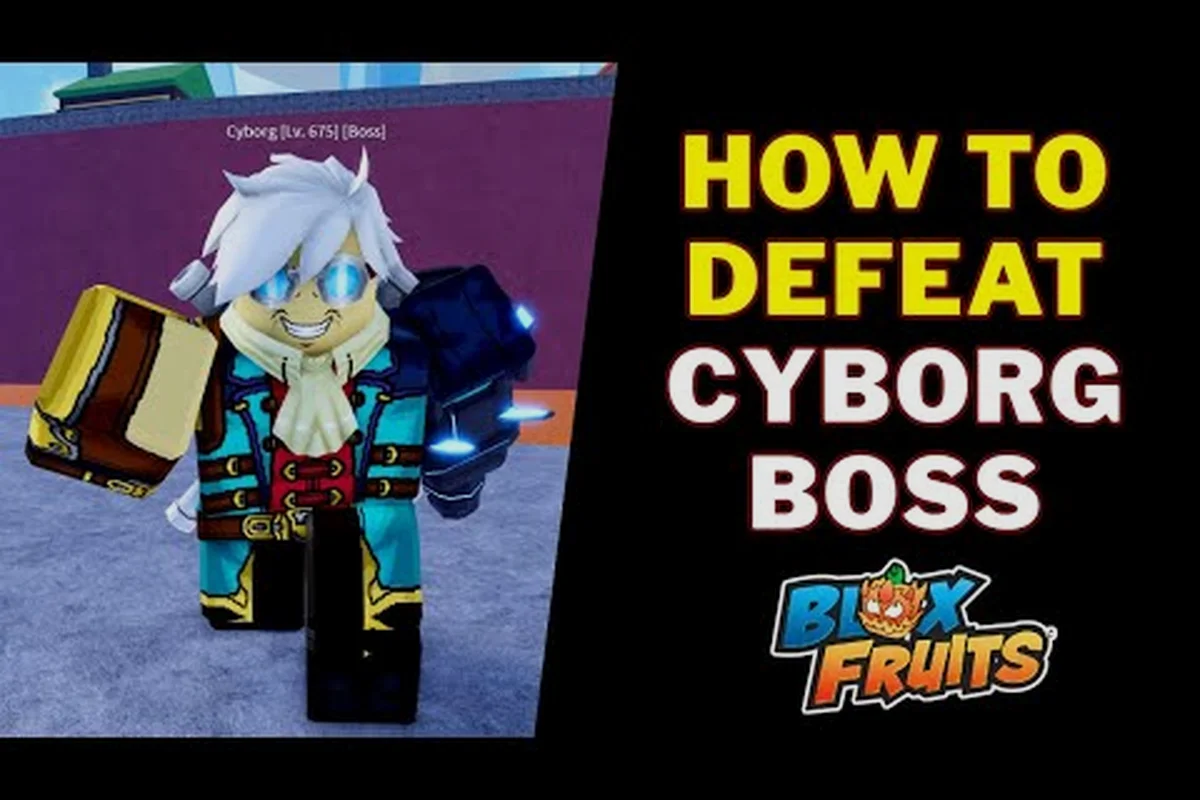
Blox Fruits Cyborg Boss: No-Damage Solo Strategy
Defeat the Blox Fruits Cyborg boss in Fountain City using ranged chip damage, safe positioning, cooldown timing, and rewards from a successful solo fight.
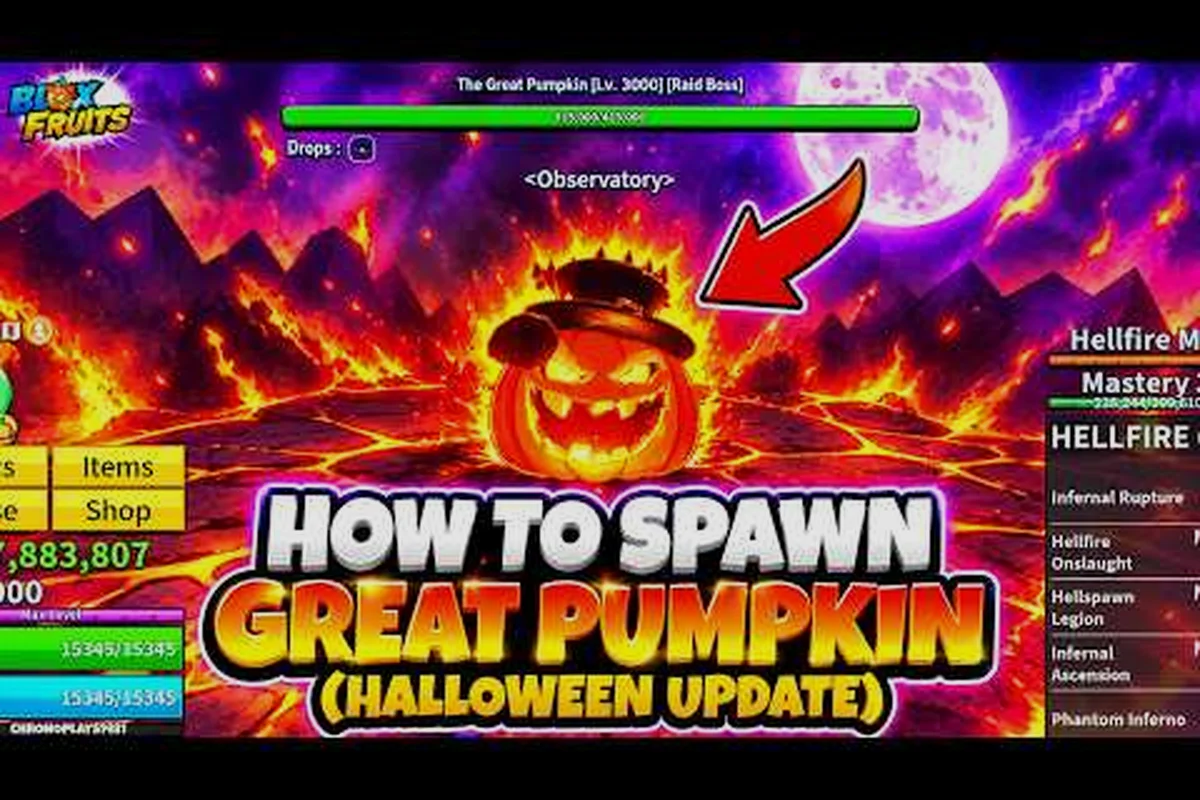
Blox Fruits How to Spawn Great Pumpkin: Event Raid Steps
Learn Blox Fruits how to spawn Great Pumpkin during the Halloween event, including raid requirements, event rewards, and efficient farming steps.

Blox Fruits How to Spawn Sea Beast: Fast Sailing Route
Learn Blox Fruits how to spawn sea beast by sailing through open water, spotting disturbances, and finding elite pirates while managing boss timers and bounty.
Blox Fruits Third Sea Bosses: Hard Fights and Loot
Master Blox Fruits third sea bosses with level checks, mob-clearing advice, boss tactics, and reward farming for stronger late-game gear.